Preparing for the foundry.
It's my practice to initially make a maquette using soft cream wax (see Letting Creativity Flow).
Basically a dummy-run where I can iron out all the issues and play with ideas.
It may or may not require an armature depending on the shape. Where one is used I will make a metal structure specific to the needs of the piece. The wax is relatively soft and so needs good support or problems will manifest during the modelling. I take the maquette through to a finished piece in every detail. Not quite finished but figures below are examples.
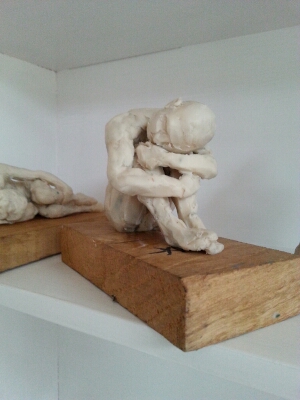
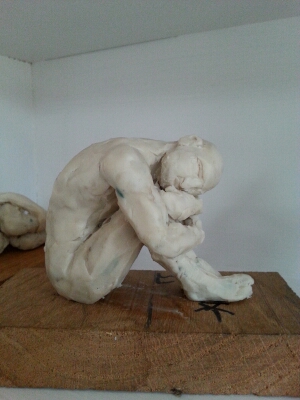
This is my opportunity to get to know the potential sculpture. I'll check out the plausibility of a pose. Can the arm joint actually move that way, what does the back really look like if one bends or twists that way etc. I'll check anatomy detail, bone structure, proportion. I'll play with the pose, try out different gestures, hairstyles or emotions through the non-verbal communication of the piece. I'll adjust the model accordingly. The end result will be a model whose surface is usually relatively smooth and life-like, not leaving much to the imagination. But this is good, it's my reference for the final work.
Then, I take a step back.
Sometimes even though a pose is how something actually 'is', the energy of what the pose is trying to express is lost. The model has to work as an expression of life first and foremost.
The beauty of the maquette is that I can play around with it as much as I like until I am happy.
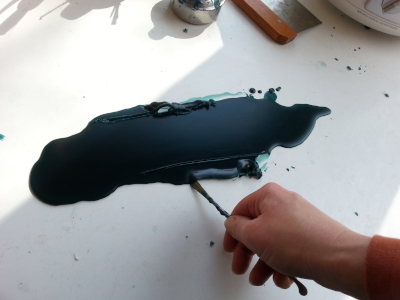
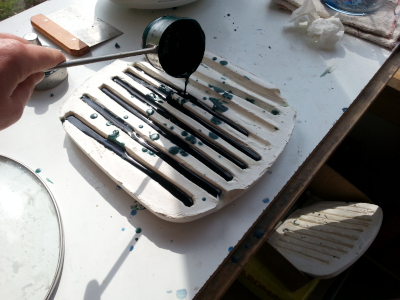
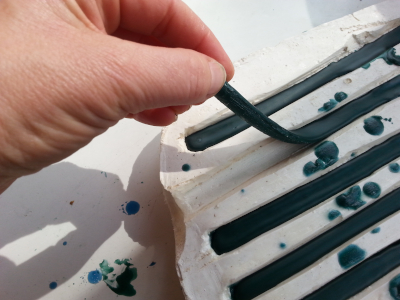
Green Casting Wax

Once the maquette is complete I make a replica in green casting wax. No mould is used in my method, I start from scratch and rebuild it.
As no mould is used, the creation is a bronze that is one-off: a unique sculpture.
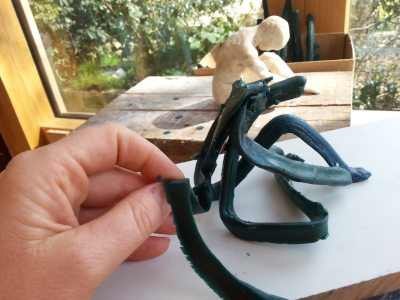
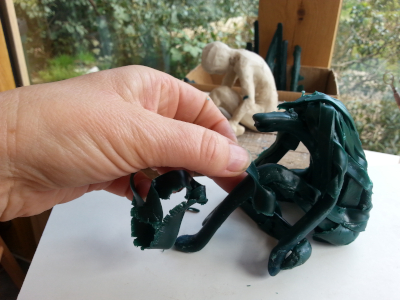
Not using an armature is fine on a small piece that is quite solid. When thinner areas are involved, especially if they are supporting part of the sculpture such as the legs of a horse or an arm propping up a leaning seated figure, some means of support is required.

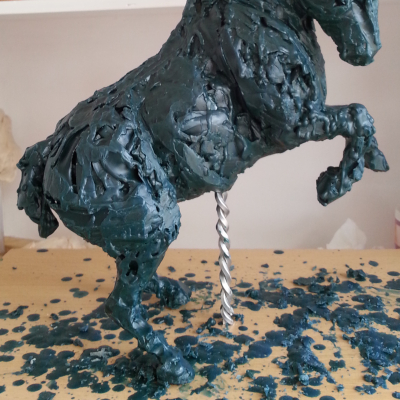
This shows a single metal armature that was fixed to a board, used on the wax of a rearing horse that only had the two rear legs to stand on. This was removed at the end.
Sculpting the figure.